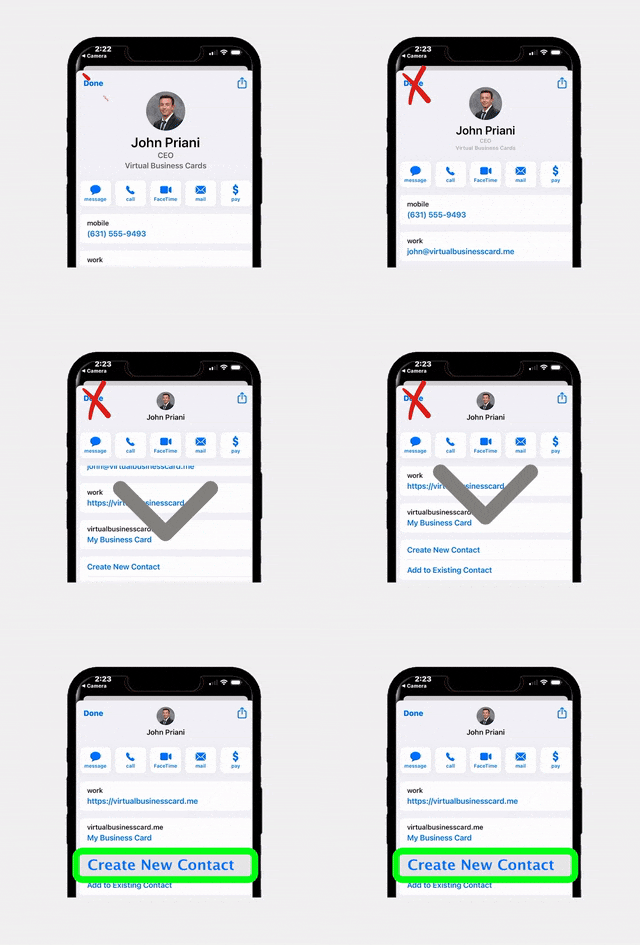
Your open house signage strategy can make or break your event’s attendance. Even the most beautifully staged home will sit empty if potential buyers cannot find it. Studies consistently show that directional signs are one of the top ways buyers discover open houses, yet many agents underestimate the power of strategic sign placement. In this comprehensive guide, you will learn exactly how to plan, place, and optimize your signs to capture attention from every direction, turning casual passersby into genuine walk-in leads.
Why Strategic Sign Placement Matters More Than You Think
Many real estate agents invest heavily in online marketing for their open houses but treat physical signage as an afterthought. They grab a few directional arrows, place them on the nearest corners, and hope for the best. This approach leaves a tremendous amount of foot and vehicle traffic on the table.
According to the National Association of Realtors’ Profile of Home Buyers and Sellers, yard signs and open house signs remain one of the most common ways buyers first learn about homes for sale. In many suburban and rural markets, physical signage outperforms digital advertising for driving same-day attendance.
The reason is simple. Online ads target people who are already searching. Open house signage captures an entirely different audience: neighbors curious about local property values, buyers who happen to be driving through the area, and people who may not have been actively looking but are intrigued enough to stop. These spontaneous visitors frequently become serious leads or valuable referral sources.
Planning Your Signage Route Before the Event
Effective open house signage starts long before the day of the event. You need a deliberate plan that accounts for traffic patterns, approach directions, and local regulations. Here is how to build your signage route from scratch.
Map Every Approach Direction
Open your preferred mapping application and identify every major road, intersection, and neighborhood entrance that feeds into the property’s street. Most homes have at least three to five logical approach routes. Your goal is to place signs along each of these routes so that no matter which direction a potential visitor is traveling, they encounter clear guidance to your open house.
Check Local Sign Ordinances
Before placing a single sign, review your local municipality’s rules regarding temporary signage. Many cities and counties restrict where directional signs can be placed, how large they can be, and how long they can remain. Some homeowner associations have additional restrictions. Violating these rules can result in fines or confiscated signs, and it reflects poorly on your professionalism.
Calculate the Number of Signs You Need
A common rule of thumb is to use a minimum of 10 to 15 directional signs per open house, but this varies based on the property’s location. Homes tucked into subdivisions or located on cul-de-sacs may require 20 or more signs to guide visitors through multiple turns. Properties on main roads may need fewer directional signs but benefit from larger, more prominent signs at the property itself.
Create a Placement Map
Sketch out or digitally map each sign location before the event. Number each location and note whether you need a right arrow, left arrow, or straight arrow. This preparation saves significant time on event day and ensures you do not forget a critical placement spot.
Directional Sign Placement Techniques That Actually Work
Directional signs are the breadcrumbs that lead visitors from busy roads to your listing’s front door. Their placement requires more thought than simply sticking them in the ground at random corners.
Start from the Farthest Point and Work Inward
Begin placing signs at the farthest logical starting points, typically major roads or well-traveled intersections within a one to two mile radius of the property. From there, place signs at every decision point where a driver needs to make a turn. The chain of signs should create an unbroken trail that is impossible to lose.
Position for Driver Visibility
Remember that most visitors will be in vehicles traveling at 25 to 45 miles per hour. Your signs need to be visible from at least 100 feet away to give drivers enough time to react. Place signs on the right side of the road, facing oncoming traffic, at a height that is visible above parked cars and landscaping. Avoid placing signs behind utility poles, mailboxes, or overgrown bushes.
Use Consistent Branding and Clear Arrows
Every directional sign should include three elements: the words “Open House,” a bold directional arrow, and ideally your branding or the property address. Consistency matters. If a driver sees a mismatched sign at the third turn, they may not realize it is part of the same trail and could abandon the route.
Double Up at Critical Turns
At intersections where drivers must make turns, consider placing two signs: one before the turn (a “heads up” sign) and one at the turn itself (a confirmation sign). This two-sign approach dramatically reduces the chance of visitors missing a turn and getting lost.
Intersections and High-Traffic Area Strategies
Intersections are the most valuable real estate for your open house signage because they offer maximum visibility to the greatest number of people. However, they also present unique challenges.
Prioritize Signalized Intersections
Intersections with traffic lights are prime sign locations because stopped vehicles give drivers time to read your sign and make a decision. Place your sign where it faces the longest red-light queue. Drivers who are stopped for 30 to 60 seconds have ample time to notice your sign, read the details, and plan their route.
Target Neighborhood Entrances
If the property is inside a subdivision or planned community, the entrance to that neighborhood is arguably your most important sign location. A prominently placed sign at the entrance tells every person entering the neighborhood that an open house is happening nearby. Many of these people will be residents who might know someone looking to buy in the area.
Leverage Commercial Areas
If there are shopping centers, gas stations, coffee shops, or grocery stores near the property, placing signs along the routes between these commercial areas and the listing can capture significant foot and vehicle traffic. Weekend shoppers who live nearby are a prime audience for your open house.
Corner Lot Advantages
When the property itself is on a corner lot, you have a significant advantage. Place signs on both street-facing sides of the property to capture traffic from both directions. Use the additional visibility to display larger signs or balloon clusters that draw extra attention.
Property Signage Best Practices for Maximum Curb Appeal
Once visitors reach the property, your on-site signage serves a different purpose. It needs to confirm they have arrived at the right place, create a welcoming atmosphere, and begin the lead capture process immediately.
The Main Yard Sign
Your primary yard sign should be large, clean, and placed where it is visible from both directions of the street. If the property has a long driveway or is set back from the road, consider adding a sign at the end of the driveway as well. Balloon clusters or feather flags can add vertical height that makes the sign visible from farther away.
Welcome Signage at the Front Door
A welcome sign or easel at the front door serves two purposes. First, it confirms to visitors that the home is open and they are welcome to enter. Second, it provides the perfect opportunity to direct them toward your sign-in process. Include clear instructions such as “Welcome! Please sign in inside” or “Scan the QR code to check in.”
This is where modern technology can elevate your open house experience. Platforms like EntryPointPro provide digital sign-in solutions with QR codes that visitors can scan right at the entrance. This approach feels seamless and professional while automatically capturing lead information.
Interior Directional Signage
Do not neglect signage inside the home. Small directional signs or printed sheets can guide visitors through the property in a logical flow. Highlight key features like updated kitchens, primary suites, or outdoor living spaces. Place a sign near the exit encouraging visitors to leave feedback or connect with you.
Converting Walk-Ins into Qualified Leads with Digital Sign-In
Getting visitors through the door is only half the battle. If you cannot capture their contact information and follow up effectively, even the best open house signage strategy will not translate into closed deals.
The Problem with Paper Sign-In Sheets
Traditional paper sign-in sheets are riddled with problems. Visitors write illegible phone numbers, skip fields they do not want to fill out, or provide fake information. After the event, agents must manually enter data into their CRM, which is time-consuming and error-prone. Worse, paper sheets can be lost, damaged, or left behind.
Digital Sign-In Solutions
Modern digital open house sign-in platforms solve these problems by collecting verified contact information through smartphones or tablets. Visitors scan a QR code displayed on your welcome signage, fill out a quick digital form, and their information is instantly captured and organized. This approach improves data quality, speeds up follow-up, and creates a more professional impression.
Digital sign-in also supports compliance requirements that are increasingly important in real estate. According to guidelines from many state real estate commissions, agents should maintain records of open house visitors. Digital platforms automatically create these records, reducing your compliance burden and protecting you in case of disputes.
Connecting Signage to Digital Capture
Your physical signs and your digital lead capture should work together as a unified system. Include a QR code on your main property sign so that curious neighbors who do not want to come inside can still register their interest. Place QR code signs at the entrance, in the kitchen (where visitors tend to linger), and near the exit. Each touchpoint increases the chance of capturing contact information.
Common Open House Signage Mistakes to Avoid
Even experienced agents make signage mistakes that cost them visitors and leads. Here are the most common pitfalls and how to avoid them.
- Too few signs: Using only three or four signs when 10 to 15 are needed is one of the most common errors. If a single missed turn can cause a visitor to give up, you need more signs.
- Placing signs too late: Your signs should be in place at least 30 to 45 minutes before the open house starts. Early arrivals are often your most motivated buyers.
- Forgetting to retrieve signs: Leaving signs out after the event ends is unprofessional and may violate local ordinances. Create a retrieval checklist so every sign is accounted for.
- Illegible text: Signs with small fonts, too much text, or low-contrast color combinations are impossible to read from a moving vehicle. Keep text large, bold, and limited to essential information.
- Ignoring weather conditions: Wind, rain, and snow can topple signs or make them unreadable. Use weighted sign bases or sand bags to keep signs upright in windy conditions, and consider laminated or waterproof signs for rainy climates.
- Blocking sidewalks or sight lines: Placing signs where they obstruct pedestrian paths or driver sight lines at intersections is not only dangerous but may result in your signs being removed by the city.
- No sign at the property itself: Some agents focus so much on directional signs that they forget to place a prominent sign at the actual property. Visitors need confirmation they have arrived.
Measuring the Effectiveness of Your Signage Strategy
Like any marketing effort, your open house signage strategy should be measured and refined over time. Here are practical ways to track what is working.
Ask Every Visitor How They Found You
The simplest measurement tool is a direct question. Ask every visitor, “How did you hear about the open house?” Include this question in your digital sign-in form so the data is captured automatically. Over time, you will see patterns that reveal which sign locations and approaches drive the most traffic.
Digital sign-in platforms like EntryPointPro make it easy to add custom questions to your check-in form, so you can track the source of every visitor without any manual effort.
Track Attendance Numbers by Sign Configuration
Experiment with different sign quantities, placements, and styles across multiple open houses. Record the number of visitors at each event alongside details about your signage strategy. After several events, you will have enough data to identify which configurations produce the best results.
Monitor Sign-Related Costs
Signs are a tangible expense. Track how much you spend on signs per event, including the cost of replacement signs for those that are damaged, lost, or confiscated. Compare this cost against the number of leads generated to calculate a rough cost per lead for your signage efforts. In many markets, open house signage delivers a cost per lead that is significantly lower than digital advertising.
Use Lead Quality as a Metric
Not all leads are created equal. Track which visitors, categorized by how they found you, eventually become clients or refer new business. You may discover that sign-driven visitors have different conversion rates than online-sourced visitors. This data helps you allocate your marketing budget more effectively. For help managing and organizing all incoming interest, consider pairing your lead capture strategy with an offer management system to keep everything streamlined once those leads turn into active buyers.
The NAR Research and Statistics portal provides useful benchmarks for understanding buyer behavior trends that can inform your signage strategy over time.
Frequently Asked Questions
How many directional signs do I need for an open house?
A general guideline is 10 to 15 directional signs per open house, but the exact number depends on the property’s location. Homes in subdivisions with multiple turns may need 20 or more signs. Properties on main roads may need fewer directional signs but should have larger, more visible signage at the property itself. Map out every approach route and place a sign at every turn or decision point.
Where is the best place to put open house signs?
The best locations for open house signage include signalized intersections where drivers stop at red lights, neighborhood entrances, corners near commercial areas like shopping centers or coffee shops, and every turn along the route from a major road to the property. Always place signs on the right side of the road facing oncoming traffic for maximum visibility.
Can I put open house signs on public property?
Rules about placing signs on public property vary significantly by municipality. Some cities allow temporary real estate signs on public right-of-way areas during open house hours, while others prohibit them entirely. Check with your local city or county government and review any applicable HOA regulations before placing signs. Violating sign ordinances can result in fines and confiscated signs.
How do I capture leads from open house walk-ins?
The most effective method is using a digital sign-in system that visitors access by scanning a QR code displayed on your signage. Digital sign-in captures verified contact information, eliminates illegible handwriting, and automatically organizes leads for follow-up. Platforms like EntryPointPro offer QR code-based check-in with automated lead capture and compliance documentation.
Should I use balloons or flags with my open house signs?
Yes, balloons and feather flags are effective additions to your open house signage, particularly at the property itself. They add vertical height and movement that attract attention from farther away than a standard yard sign. Use them at the property entrance and at key intersections near the home. Keep in mind that balloons may deflate in extreme heat or cold, so have extras on hand.
Capture Every Open House Lead Automatically
Pair your signage strategy with digital sign-in to ensure every walk-in visitor becomes a qualified lead. EntryPointPro makes it easy with QR code check-in, automated follow-up, and compliance-ready documentation.

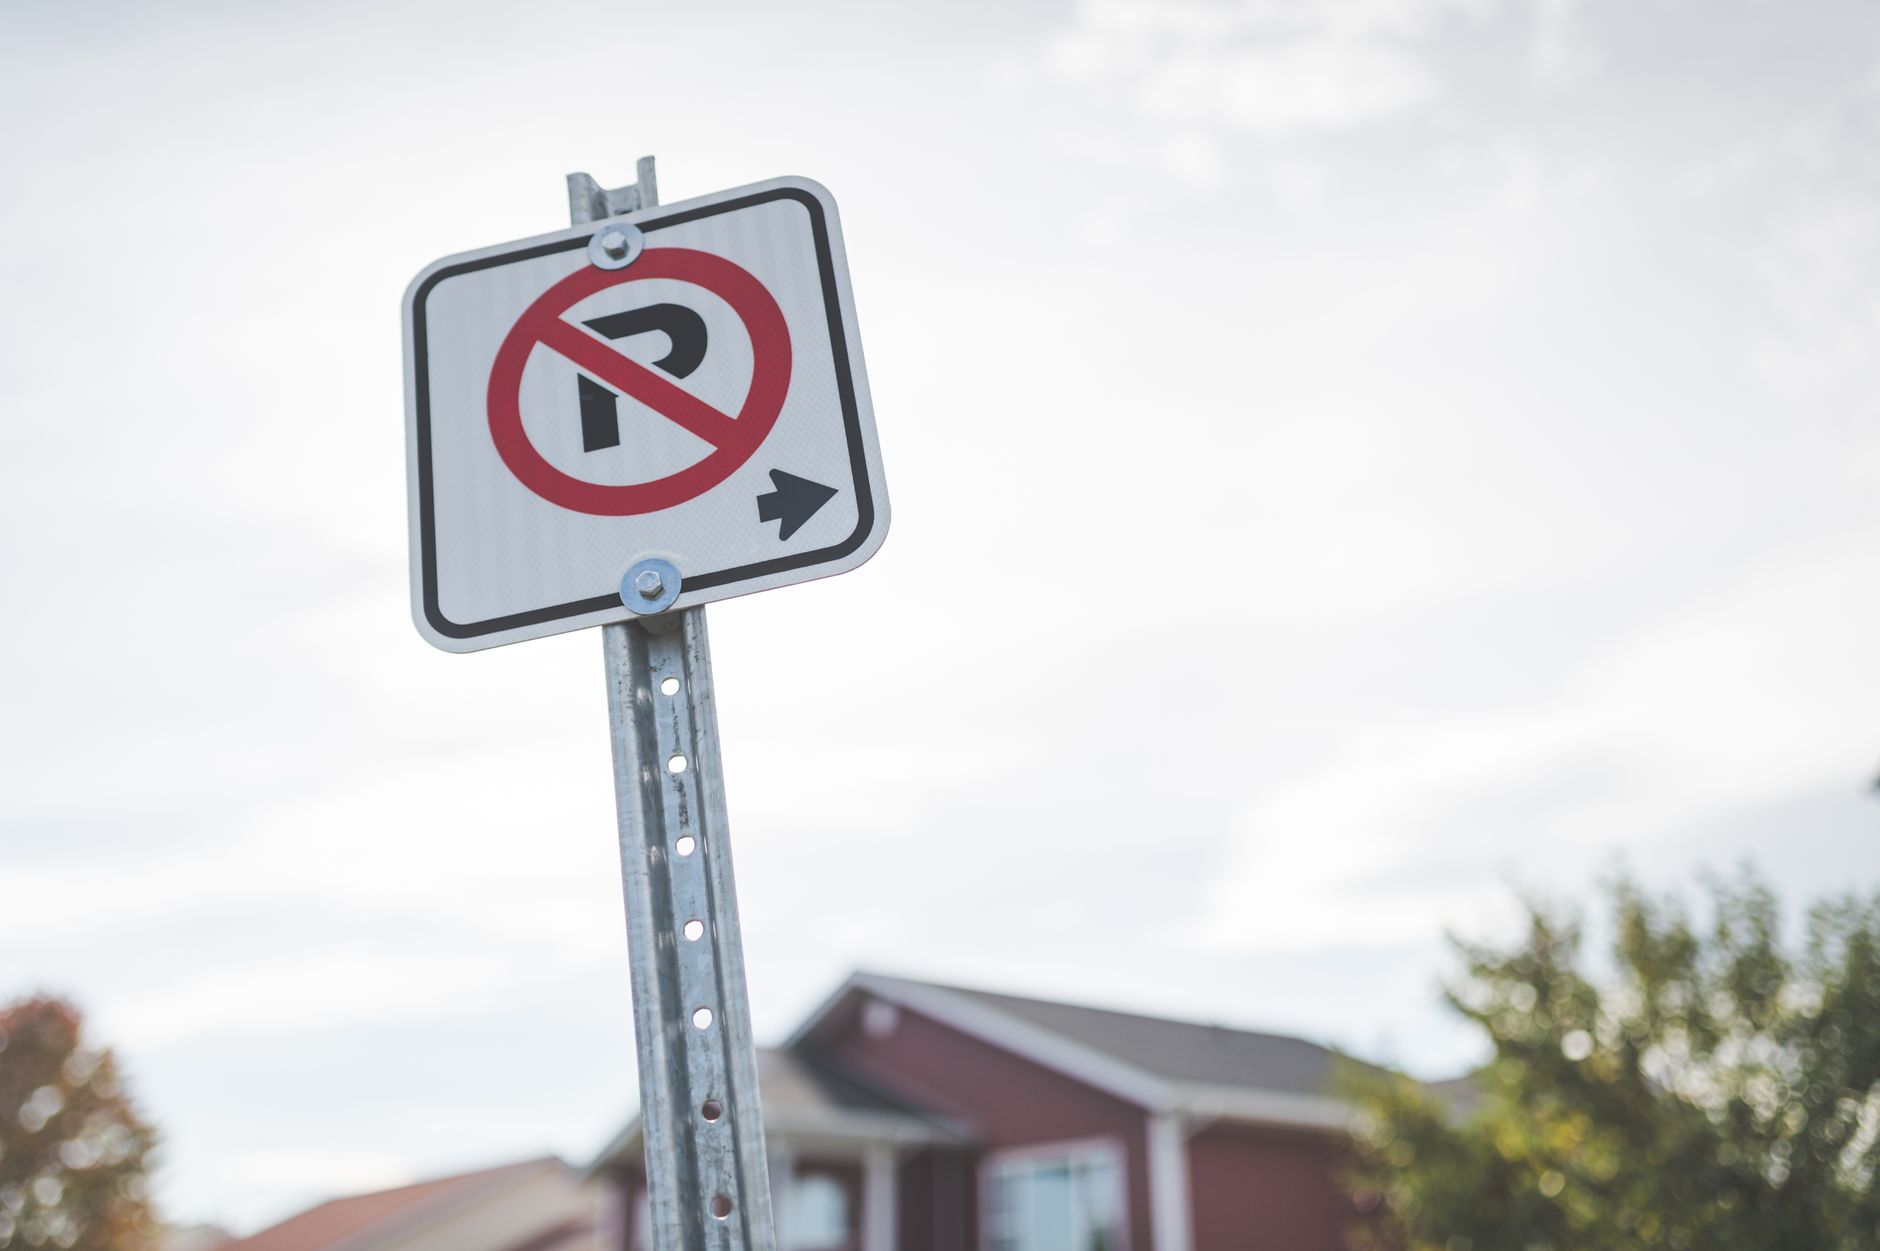




 Icon On The Top Right Is the Menu For Your Card. This Is Where You can edit your card and log into your dashboard.